 dorris
A low-step shower with warm lighting and easy-clean surfaces is the simplest way to make a Kitchener bathroom safer and calmer after surgery, illness or a heart event. Plan on a few weeks from first measurements to a finished space, with a basic tape measure, a level, a lighting sample and a surface cleaner test as your starting kit. The main method is straightforward: lower the threshold so you never have to lift your feet high, soften the light so your eyes and body stay relaxed, and choose surfaces that wipe clean in minutes instead of demanding scrubbing.
Why this works comes down to energy. Recovery asks a lot of you, and a bathroom shouldn’t ask for more. A step you can glide over, a glow that doesn’t glare at 3 a.m., and tile or panels that shrug off soap scum all save effort you’d rather spend healing. Women recovering from cardiac events often tell their care teams the same thing: they want to feel safe in the room where they’re most vulnerable, and they don’t want to rely on someone else for something so personal.
Hearing how others have approached recovery can help, and Melissa’s story is a good reminder that taking proactive steps for your health is something worth doing. Below, you’ll find tools, safety stop points, an ordered process and a checklist. Confirm any activity limits with your own care team, and consider asking the PD Home Renovations team for local guidance.
Why a Calmer Bathroom Supports Recovery
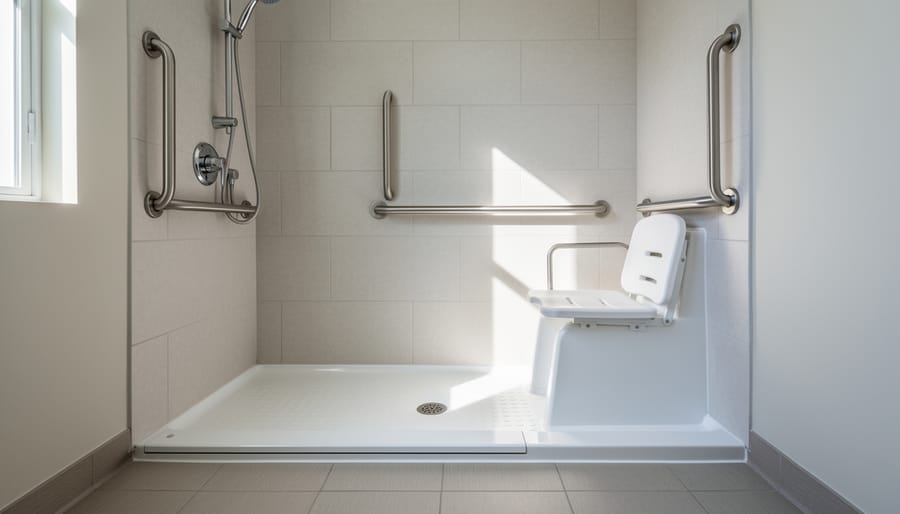
When you’re recovering, small daily tasks can take real effort. A shower asks you to step over an edge, stand on a wet floor, handle hot water and reach for things, all while you may be tired. A bathroom built for low effort takes some of that work off your plate, so your energy goes toward healing instead of getting clean safely.
There are a few reasons this matters after a heart event or surgery. Some people feel lightheaded when they stand up, especially after warm water has relaxed the blood vessels. Fatigue can make your legs less steady than usual. Certain medications, including some blood pressure treatments, can add to dizziness, and people living with atrial fibrillation or other rhythm concerns may notice their energy shift from day to day. Straining, whether from hauling yourself over a tub wall or scrubbing grout, is often something your care team will ask you to avoid for a while.
A low step, a seat, good light and surfaces that wipe clean reduce all of these demands at once. Fewer awkward movements means fewer chances for a slip.
Women’s recovery needs are often under-discussed, and many of us were never told what “take it easy” actually looks like at home. Understanding your own cardiovascular risk is a good starting point for those conversations. Ask your cardiologist, family doctor or an occupational therapist what limits apply to you, and let their answers shape your plan.
Tools, Materials and People You’ll Need Before You Start
Working With an Occupational Therapist and a Local Contractor
Start with the home assessment. Ask your family doctor, cardiac rehab team or hospital discharge planner for a referral to an occupational therapist, or check whether your local community care access program offers home visits. The therapist watches how you actually move through your bathroom and writes down what would help, such as a seat height, grab bar placement or a wider shower entry. Keep that report close, because it becomes your project brief.
When you interview contractors, keep your questions simple and specific:
– Have you built low-threshold or curbless showers before, and can I see photos or speak with a past client?
– Who pulls the permit, and will you handle the City of Kitchener inspection?
– Are you licensed and insured, and do you use licensed electricians and plumbers for that work?
– Will you install blocking inside the walls for grab bars?
Share the therapist’s recommendations in writing before quotes are prepared, so every contractor prices the same plan. Many therapists will gladly speak with your contractor directly, which keeps your own needs at the centre of the design.
Safety Warnings: Slips, Heat, Electricity and When to Pause the Project
Safety comes first, and most of it is simple once you know where the risks hide. During construction, keep floors clear of tools, cords and offcuts, and wear shoes with good grip, because wet drywall dust and fresh tile are slippery. After the work is done, a properly waterproofed shower matters more than any finish you choose. Hidden leaks lead to rot and mould, so ask your contractor how the membrane and drain are sealed and tested.
Electricity and water don’t mix, so leave all wiring to a licensed electrician. Bathroom outlets and fixtures should have ground-fault protection (GFCI), which cuts power quickly if something goes wrong. Check that any light installed inside the shower is rated for wet locations.
Water temperature deserves real attention. Very hot showers can make you lightheaded, which is the last thing you want while recovering. An anti-scald or thermostatic valve keeps the temperature steady and capped, so a surprise blast of heat never catches you off guard.
Grab bars only help if they hold. They need solid structural blocking behind the wall, not just tile or drywall, and a towel bar is not a grab bar, no matter how sturdy it looks. Good ventilation, like a quiet fan that clears steam, protects both your lungs and your new surfaces from mould.
Know when to pause the project. If you uncover water damage, rot or old wiring behind the walls, stop and call a professional before going further. The same applies to your body. Be aware that women’s heart symptoms can be subtle and easy to brush off.
Trust your instincts, and never push through a symptom to finish a task.
Step-by-Step: Planning the Low-Step Shower, Warm Lighting and Easy-Clean Surfaces
Designing a Low-Step Shower That Is Easy and Safe to Enter
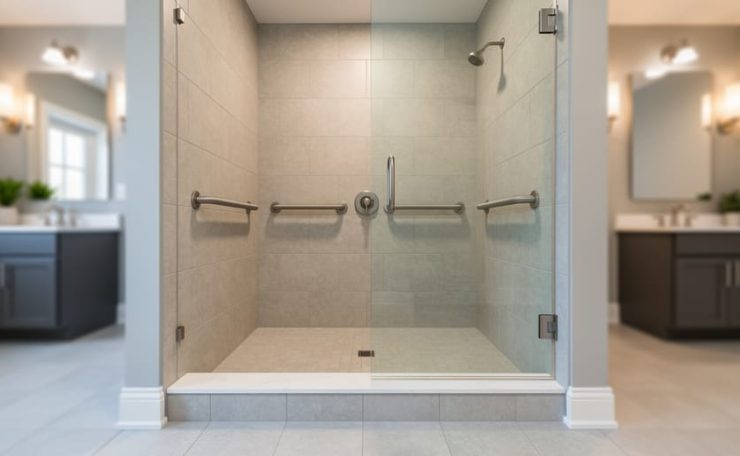
A low-step shower keeps the entry gentle, and you have two main routes. A low-threshold base leaves a small lip, often an inch or two, that holds water in and gives you something to brace against. A fully curbless design lets you walk straight in at floor level, which suits anyone who uses a walker or shuffles when tired. Neither is automatically better. The right pick depends on your balance, your mobility aids and the house you’re working with.
Give yourself room. A shower at least 36 inches wide works for many people, but if a helper or a wheelchair needs space, ask your occupational therapist about wider dimensions and turning room just outside the shower. Cramped corners make a dizzy moment feel much worse.
The floor should slope gently toward the drain so water never pools where you step. A linear drain along one wall lets you pitch the whole floor in a single direction, which is easier to walk on than a floor that dips toward a center point. Choose a matte, textured surface for grip, even when it’s wet and soapy.
Plan the fixtures around your reach. A handheld shower head on a slide bar lets you stay seated and rinse without twisting. A fold-down seat tucks away when it’s not needed, while a fixed one stays ready on tired days. Put the controls near the entrance so you can turn on the water and test the temperature before stepping in.
Here’s the part to take seriously: curbless showers depend on careful floor framing and flawless waterproofing. That is work for experienced installers. In older Kitchener homes, the floor structure may need adjusting to create the slope, so ask about it early.
Choosing Warm, Glare-Free Lighting for a Restful Feel
Think of bathroom lighting in three layers, each with its own job. When you’re tired or recovering, one blazing ceiling light does none of them well.
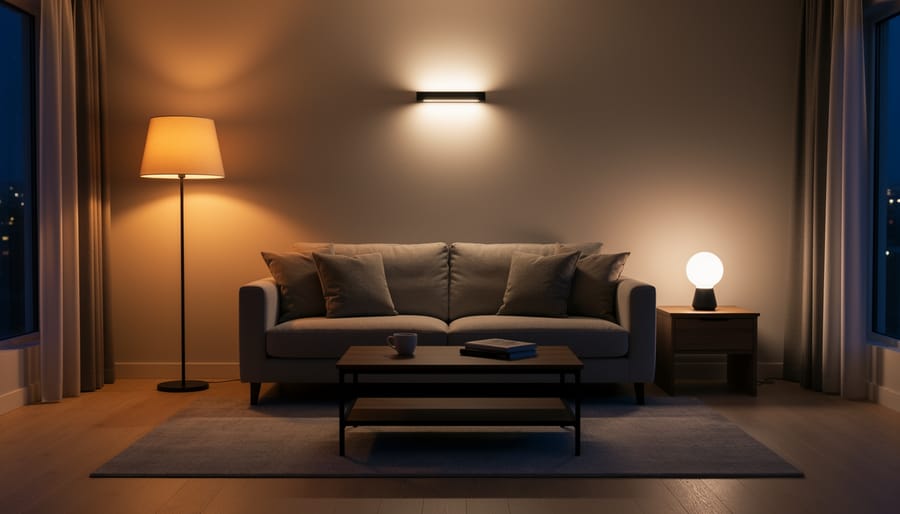
Start with soft general light. Choose warm white bulbs rated around 2700K to 3000K, the colour of an incandescent bulb rather than a clinic. Cool, bluish light feels sharp and alerting, which is the last thing you want when you’re trying to rest, and sleep-focused guidance generally suggests you use warm white light in the evening hours. Put the general light on a dimmer so you can turn it down on low-energy days.
Next, add task light at the mirror. Sconces on either side of the mirror light your face evenly, which is kinder than a single fixture overhead that throws shadows under your eyes.
Finally, add low-level night lighting. A motion-activated light near the floor, or a plug-in night light along the path from bedroom to toilet, means you never have to hit a bright switch at 3 a.m. Standing up quickly after sleep can make some people lightheaded, so a gentle glow and a clear view of the floor really matter.
Why does evenness matter? Harsh overhead light feels jarring on tired eyes, and it creates pockets of shadow where a wet patch can hide. Soft, spread-out light makes a slick spot easier to see.
Inside and directly around the shower, use fixtures rated for damp or wet locations. Your electrician can confirm the right rating for each spot.
Picking Easy-Clean Surfaces That Save Your Energy
The easiest bathroom to keep clean is the one with the fewest places for grime to hide. Grout lines are the usual culprit, so start by choosing wall and floor surfaces that cut them down.
Large-format porcelain tile is a strong option because bigger tiles mean fewer seams to scrub. Solid-surface or acrylic wall panels go further, since they can cover a shower wall with almost no seams at all and wipe down in a few passes. Panels cost differently than tile, so ask your contractor to price both.
Where grout remains, ask about epoxy grout, which resists staining and moisture better than standard cement grout. If you stay with cement grout, plan on sealing it, and check how often the manufacturer recommends resealing.
Finish matters as much as material. For the shower floor, choose a matte, textured surface so it grips when wet. On the walls, smooth finishes are better, because soap film rinses off instead of settling into texture.
A few small design choices also protect your energy. Rounded corners are easier to wipe than sharp inside angles. Wall-mounted fixtures and shelves keep the floor clear. A squeegee with a long handle lets you clear the walls after a shower without bending or stretching, which matters when you’re tired or lightheaded.
Finally, keep the cleaners gentle. Mild, low-fume products are kinder if strong smells bother you, and in a small room with limited airflow they’re simply more comfortable to use.
Checking the Finished Bathroom and Your Next Steps
Once the last tile is set and the contractor has packed up, take an evening to test the room the way you’ll actually use it. Run through this walk-through, ideally with a family member nearby:
– Turn on the shower and watch the drain. Water should clear steadily without pooling at the edges.
– Press down on each grab bar and lean your weight into it. There should be no wobble or give.
– Check the water temperature at your usual setting and confirm the anti-scald valve keeps it comfortable, not hot.
– Switch on the lighting after dark. It should feel soft and even, with the night light guiding you without glare.
– Step onto the wet floor in bare feet to confirm it grips.
– Shower for a few minutes, then see whether the fan clears the steam.
Next, book the final inspection if a permit was involved, and ask your occupational therapist to look over the finished space. A fresh set of trained eyes often catches a seat that sits an inch too high or a control just out of reach. As one occupational therapist told us, “The best bathroom is the one you stop thinking about, because nothing in it asks more of you than you have to give that day.”
Then adjust your routines. Keep showers comfortably warm, sit down whenever you feel tired, and keep your phone within reach. Stories of survival and resilience often begin with small, steady habits like these.
Common Questions About Recovery-Friendly Bathrooms in Kitchener
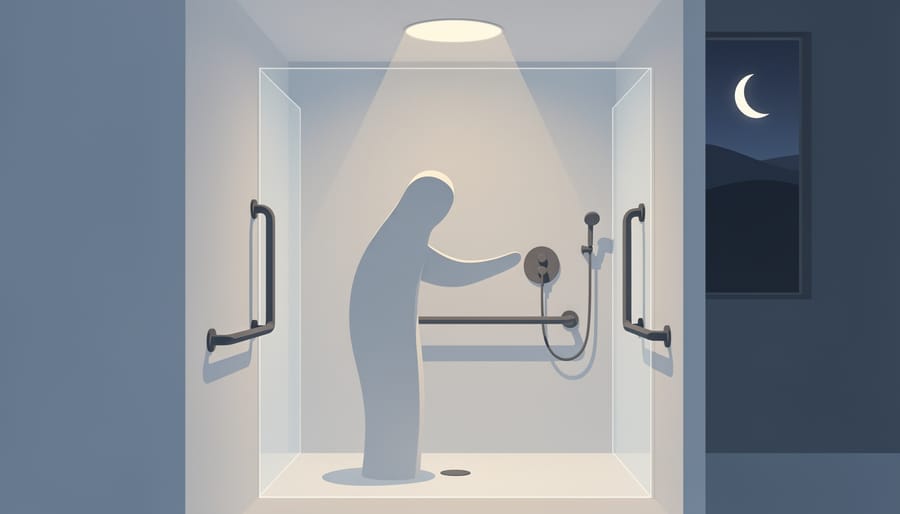
Planning a bathroom for recovery brings up practical questions, and it’s fine to start small. Here are plain answers to the ones readers ask most, with a reminder that your own care team and local professionals know your situation best.
How long does a renovation like this usually take?
It depends on the size of the room, the shower design and what’s hiding behind the walls and floor, especially in older Kitchener homes. A reputable accessibility-focused contractor can give you a realistic schedule once they’ve seen the space.
Do I need a permit in Kitchener?
Often yes, particularly if the work touches plumbing, structure or electrical. Check with the City of Kitchener’s building department before you start, and ask your contractor to confirm what applies to your project.
Can I start with smaller upgrades?
Absolutely. Properly anchored grab bars, a handheld shower head, a shower seat and plug-in night lights can make a real difference now, and an occupational therapist can help you decide which matter most.
Is a curbless shower always better than a low step?
Not always. A curbless design suits many people, but a low step can be simpler and more practical depending on your floor structure and drain placement, so ask an experienced installer what fits your home.
What shower temperature is right after a heart event?
There’s no single number for everyone, and very hot water can bring on dizziness. Ask your cardiologist or family doctor what’s comfortable for you, and use an anti-scald valve so the water never surprises you.
If a question here doesn’t quite match your situation, jot it down and bring it to your next appointment or home assessment. You deserve answers that fit you.
A bathroom that supports your recovery doesn’t have to happen all at once. A low step into the shower, soft light you can trust at 3 a.m., and surfaces that wipe clean in a minute all work toward the same goal: a daily routine that asks less of you when your energy is limited.
If the full project feels like too much right now, start with one change. A handheld shower head, a few night lights or a properly blocked grab bar can make the room feel calmer almost immediately. You can build from there as your strength, your budget and your plans allow.
Before you decide, talk it over with your care team. Your cardiologist, family doctor or an occupational therapist knows your recovery and can help you match the space to what your body needs. A Kitchener contractor with accessibility experience can then turn those recommendations into something that works in your own home.
Caring for the space around you is part of caring for your heart. You deserve a bathroom that feels safe, restful and easy to look after.